Thursday, April 7, 2011

Blog 18 – Checkpoints

Here’s a post about another important part of my level that I’ve always wanted to put in my levels, Checkpoints! The beginning of the level starts off on the third floor. The player will have to be really good and complete the level without getting killed or if the player would die he or she would have to start all the way over from the very beginning. All the keys would still be in their possession, but it’s a large level, so the player will have to go through the level all over again which might be annoying. But with the checkpoints the player would have to make it to a certain point in the level and if they died, they would keep all their keys, and respawn at a location near the last checkpoint marker they hit before they perished.

First, I put a PlayerStart at a spot in the level. Then went into its properties disable it or uncheck “Enabled” and “PrimaryStart”, so the player doesn’t accident spawn at any place they have not been before. Use a TriggerVolume that needs to be touched only one time. When it’s touched, I have 2 toggles connected. One toggle to disable the past PlayerStart and enable the newly reached PlayerStart.

Here is a shot of player going through the door that requires the first key of the level. Checkpoint # pops up to tell the player that they’ve reached a checkpoint. The respawn PlayerStart for the checkpoint is to the right.


Here’s a shot second checkpoint in the level. After the player opens the door that requires the second key that leads to the third key. The player will trigger the next checkpoint. The respawn PlayerStart for this checkpoint is doing a 180 degrees turn and to the right outside the door at the end of the hall.


Here is a screenshot of the third checkpoint in the level. After the player acquires the fifth key and opens the sewer gate on the third floor that leads to the second floor. The player falls and triggers the checkpoint. The respawn PlayerStart for this checkpoint is at the end of the fall next to the portal.


Here is a screenshot of the fourth and final checkpoint in the level. This checkpoint can be triggered only after the player goes through the sewer gate towards the end of the level after acquiring the seventh and final key. The respawn PlayerStart for this checkpoint is a small distance backwards away from the sewer gate.


I want to thank MrMikertron for his video tutorial on checkpoints.

Next Post, I’ll do some work on new textures and the final room for this level.

Thursday, March 31, 2011

Blog 17 – Enemy Placement

Here’s a post about another important part of my level that I’ve always wanted to put in them, enemies, drones, or bots. Giving the player actual physical resistance to stand in their way other than the environment. Obstacles that can stop the player through death! There are 13 enemies in this level, 10 of them throughout the level and 3 more in the last room where the exit is.

Here is a shot of a PlayerStart that the enemies spawn from through Kismet. (It’s on the left hand side of this picture)


Here’s a shot of the same area, but during gameplay. They will be shooting at me & hunting me down when I run. For most of this post I will be taking shots from the editor windows.


Here is the Kismet set up for spawning bots. Most of the bots spawn when the level starts up. The Level Loaded is connected to the Actor Factory where the AI, name, inventory, and etc. The PlayerStarts are the point where the bots spawn into the level when it is loaded.


Most of the enemies are nothing special that have the default inventory or maybe a different weapon to give the player a better fight. I placed bots to have UT Powers like Berserk and Damage. But with enough play testing it became apparent that these power-ups only last for a brief period of time. So, when the player encountered these special enemies they were nothing special. I came up with a solution on my own. I added “TriggerVolumes” to the level and if the player stepped within the “TriggerVolume” box the enemies will spawn and will have all its power-ups right then and there.


Using the “TriggerVolumes” allowed me to spawn powerful adversaries to give the player the idea that there must be something of value where it’s guarding. Like weapons, armor, and even keys.


I want to thank chrishm7 for his tutorial on spawning bots through level loading.

Next Post, I’ll do some work on placing checkpoints in the level.

Tuesday, March 22, 2011

Blog 16 – Items and Weapons Pick-ups

Here’s a post about another important part of my level, Items; it being weapons, health, ammo, and armor. Pick-ups give the player something to look forward to while progressing throughout the level. Items offer help, power, replenishing of supplies, and etc.

Here is a Health Vial. The smallest health the player can get. If the player health is at 100% and picks it up, it’ll boost the health maximum by 5 points. There are 9 of these hidden in the level. The player will have to search for them.


This is ammo for the Shock Rifle Weapon. The replenishing of the ammo won’t be applied until you first acquire the weapon and then pick up the ammo. The player can always go back to grab the ammo after acquiring the corresponding weapon. There are 4 of these in this level.


Here is a Health Kit. This restores 25 points of the players lost health. Unlike the Health Vials, they will not increase the player’s maximum health when they are at 100%, so the player will have to pick these up more strategically. There are 2 of these in this level.


Here’s a power-up pick up. This one is called UT Damage. As the name suggest, it allows whomever that picks it up weapons do more a lot more damage for brief period of time. There are 2 of these in this level.


Here’s one of the first weapons that the player can pick up: The Link Gun. The white Link Gun offers a faster fire rate and probably more powerful in contrast to the default black Link Gun the player starts off with. Yes, one does get the white Link Gun after killing a player, but only if they have it equipped when you kill them. Having a white Link Gun lying around helps players who have died and need a weapon with more fire power. There is only1 Link Gun weapon pick up spot in this level.


This is ammo for the Rocket Launcher Weapon. The replenishing of the ammo won’t be applied until you first acquire the weapon and then pick up the ammo. The player can always go back to grab the ammo after acquiring the weapon like all the other ammo pickups. There are 4 of these in this level.


Here’s one of the first armor that the player can pick up: Thigh Pads. Thigh Pads offers 30% of protection from damage (might not protect from fall, splash, or explosion damage). Once armor is depleted damage will be deducted from as normal. There is only1Thigh Pads armor pick up spot in this level.


Here’s another armor to provide protection: Base Armor. Base Armor offers 50% of protection from damage. There is only1 Base Armor pick up spot in this level.


Here’s a power-up pick up. This one is called Berserk. This power-up allows the player fire rate increase dramatically for a brief period of time. This allows for fast kills, but be cautious because this also drains ammo considerably. There are 2 of these in this level.


Here’s the second available weapon for pick-up: The Shock Rifle (one of my favorites). This weapon has a combo with the Right Mouse button that launches an energy ball and then shooting the energy ball with a lightning bolt to cause major area damage. There is only1 Shock Rifle weapon pick up spot in this level.


Here’s a very important health item: Super Health (A.K.A. “Big O’ Keg of Health”). This health pickup increases the player’s health by 100 points (MAX health 199). There is only1 Super Health pick up spot in this level.


Here is a very important armor pick-up: The Shield Belt. The armor offers 100% of protection from damage. There is only1 Shield Belt armor pick up spot in this level.


Here’s the most powerful weapon in this level and last available weapon to pick-up, the Rocket Launcher. This weapon has a couple of functions like spiraling rockets or grenades both of these features can be used with 2 or 3 rockets. This is a very versatile and destructive weapon. There is only1 Rocket Launcher weapon pick up spot in this level.


This room is before the boss battle of this level. This room contains 1 of each: Shock Rifle ammo, Rocket Launcher ammo, Link Gun ammo (only 1 in this level), and a Health Kit. This is the room is to replenish the player health and ammo before the fight. If the player needs more then he or she should go back throughout the level and collect items from the previous rooms. All the items reappear after a certain amount of time.


This room is where the boss battle is held which contains 1 of each UT Damage and Berserk power-ups. If one person collects both of them at the same time they will get the combination power-up: The Juggernaut! With combines both of these power-ups effects making the one who is the Juggernaut a killing machine.


Next Post, I’ll do some bots placing in the level.

Monday, January 31, 2011

Blog 15 – Keys and Doors

Here’s a post about another important new piece of gameplay for my level that I’ve always wanted to learn how to do, Keys and Locked Doors. Blocking off paths forces the player to complete a certain goal and/or navigate through the level to find something in order to progress.

Here is the new 3D model, a Toolbox. I wanted to create a new model for the players to keep an eye out for that might hold something important.


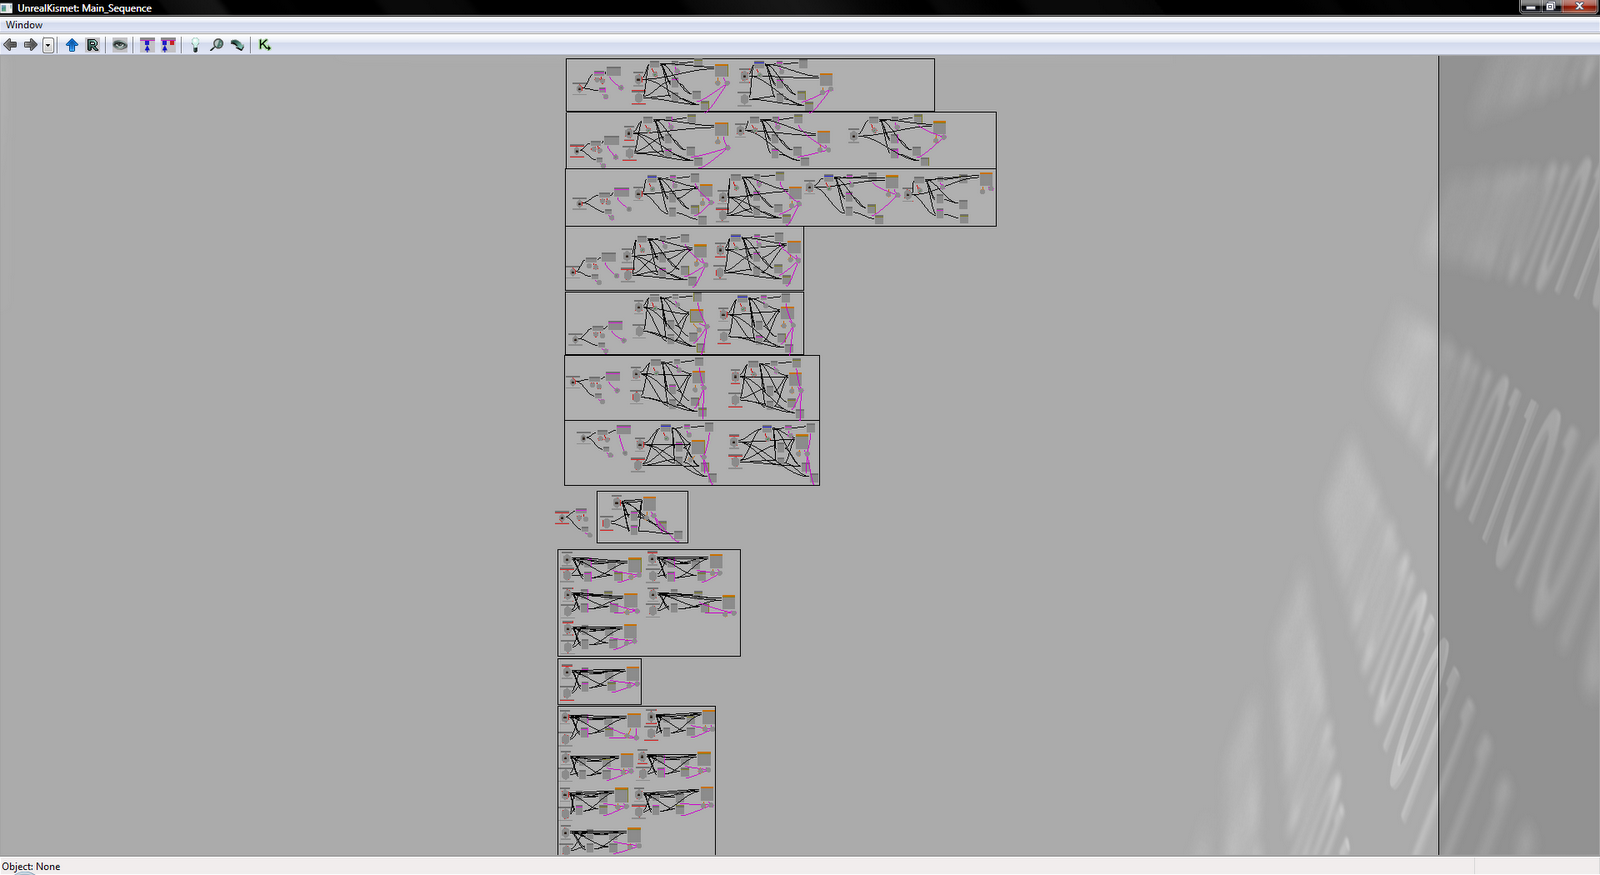
I’ve always wanted locked doors and keys in my level. Here is whole Kismet scripting I’ve been working on. There is still a little more when you scroll down. I combined the Hourences door tutorial and the UDK forum key and door tutorial.


Here’s a door in the level, but it’s locked and won’t open. A text appears and tells you that a key is required for this door to open, which number of key it is, and gives a slight indication of what’s behind the door or what it lead to.


Here’s one of the keys in the level which is a purple particle effect. I toke and existing particle effect and just changed the color of it. The player should take notice to the color and that it will be different from upcoming ones.


Here’s what the particle effect will look like if the player collects it. It changes form to let the player know that they picked it up and can now open doors that’s to the corresponding keys.


If the player goes back to the door that was locked with the correct key it opens and the player can proceed.


There are a total of 7 different color particle effects. Here’s a light blue one.


Here’s a yellow colored particle effect.


Special thanks to the Ayalaskin for his insight on the UDK forums with the helpful tutorial.

Next Post, I’ll do some level weapons and item placement in the level.

Friday, December 31, 2010

Blog 14 – Water in the Sewer

Here’s a post about another important new piece of interaction, environmental ascetic, and gameplay for my level, Water. Water being placed around the level and swimming was my goal for this level

Here is the beginning of the level and a clear view of the water which how it looks mostly throughout the level.


Here is water going through two split passages.


Here’s very shallow pool of water before descending to a lower level.


Here’s one of the final rooms of the sewer that has water it them. There is a pool of water that the player will have to avoid taking a swim by jumping onto crates to get to the other side.


This surface water actually moves when it’s shot, step upon, and etc


Under the surface a water volume is placed so that the water is swimmable and that the player will start taking damage when they stay under too long. I’ve made the water blurry for the player as if they’re really submerged under water.


Special thanks to raven67854 (Raven) for the helpful tutorial.

Next Post, I’ll demonstrate keys and locked doors within the level.
Wednesday, December 8, 2010

Blog 13 – Destroyable Crate

Here’s a post about another new piece of interaction and gameplay for my level, Fracture Meshes. Destroyable static meshes (3D models). When the player shoots the model it will explode into pieces depending on the setting.

Here is the static mesh that has been converted into a fracture mesh in the static mesh editor which is a crate.


Here is the crate which is now a fracture mesh during gameplay.


Here’s the crate being shot and is exploding. I chose a simple small explosion as the destroyed effect.


Here’s the aftermath of the crate being shot and blown to pieces. I want to thank Hourences for their very helpful and new Fracture tutorial.


Next Post, I’ll display water throughout the level.

Thursday, December 2, 2010

Blog 12 – Mover for the Door

Here’s a post about a new piece of interaction and gameplay that I’ve always wanted in my levels, actual moving doors; doors that open and close. It opens when the player touches it and closes when the player steps away from the trigger volume invisible to the player during gameplay. I used an InterplacerActor (InterpActor) Mesh and the Unreal Matinee to animate it.

Here is the Unreal Matinee window. I made it used three key points to animate it. I used three positions to make the animation a little smoother than the recommended two keys. The Unreal Matinee animates the rest after the keys are set.


Here’s the kismet (programming) for the door. I‘ve added another new aspect to my level, sound. When the door opens, a door opening sound effect will play and when the door closes, a door closing sound effect will play. A safeguard trigger has also been placed to ensure that the player doesn’t get stuck inside a room. I want to thank Hourences for their very helpful Movers tutorial.


Here is a shot of the door in the editor. I’m just showing how this set up works. The InterplacerActor mesh is there with a trigger icon next to it. The green box is a TriggerVolume box used for the safeguard.


Here’s an in-game shot of the Door moving in action.


Next Post, I’ll display fracture meshes which is for destroyable static meshes.